Here’s how I make our minimalist wallet.
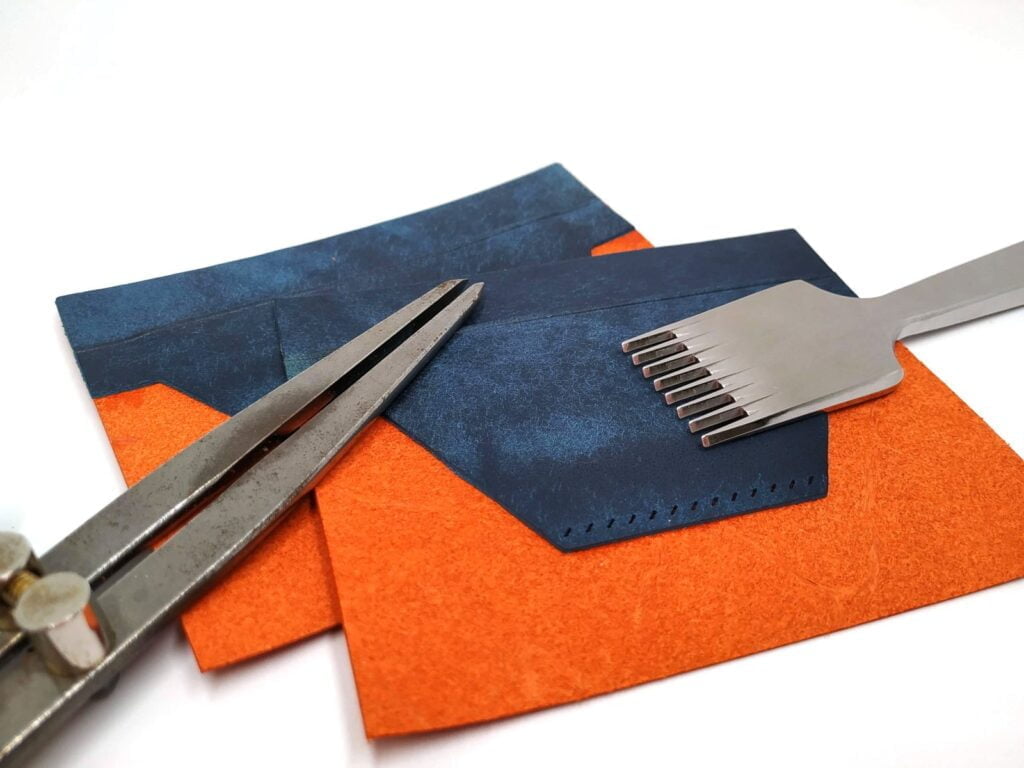
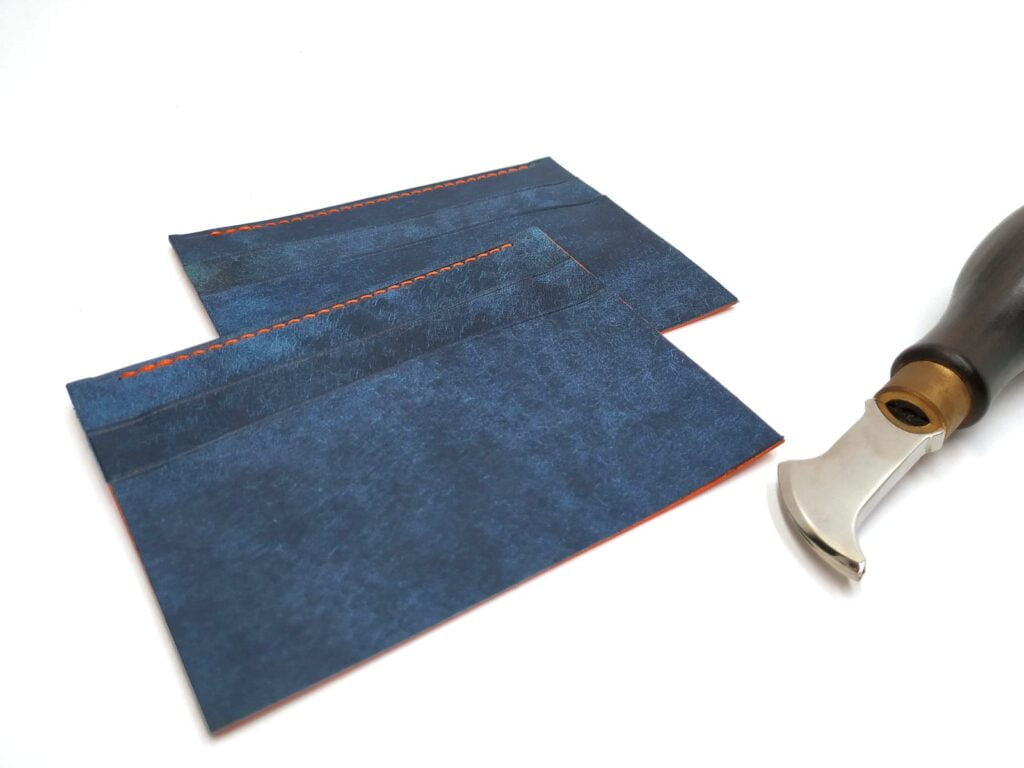
Here are the hand tools I’ll be using to make the wallet.

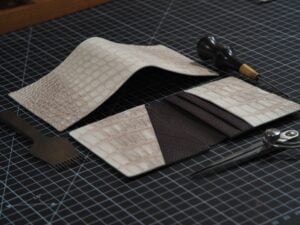
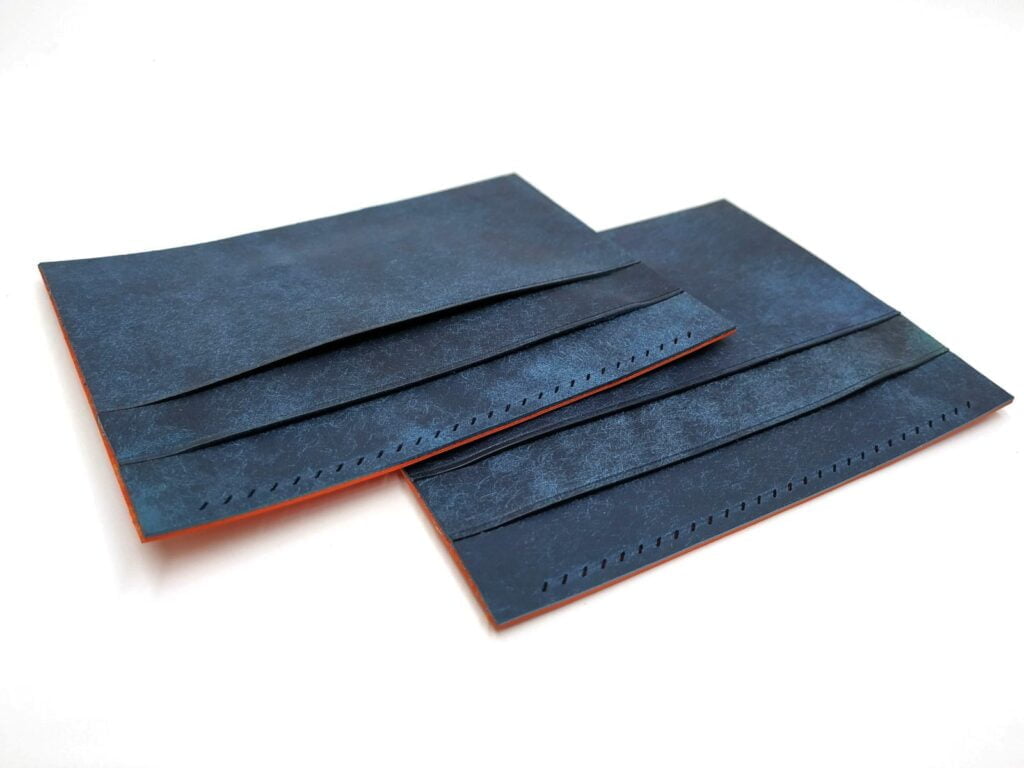
 First, I cut out all the pieces.
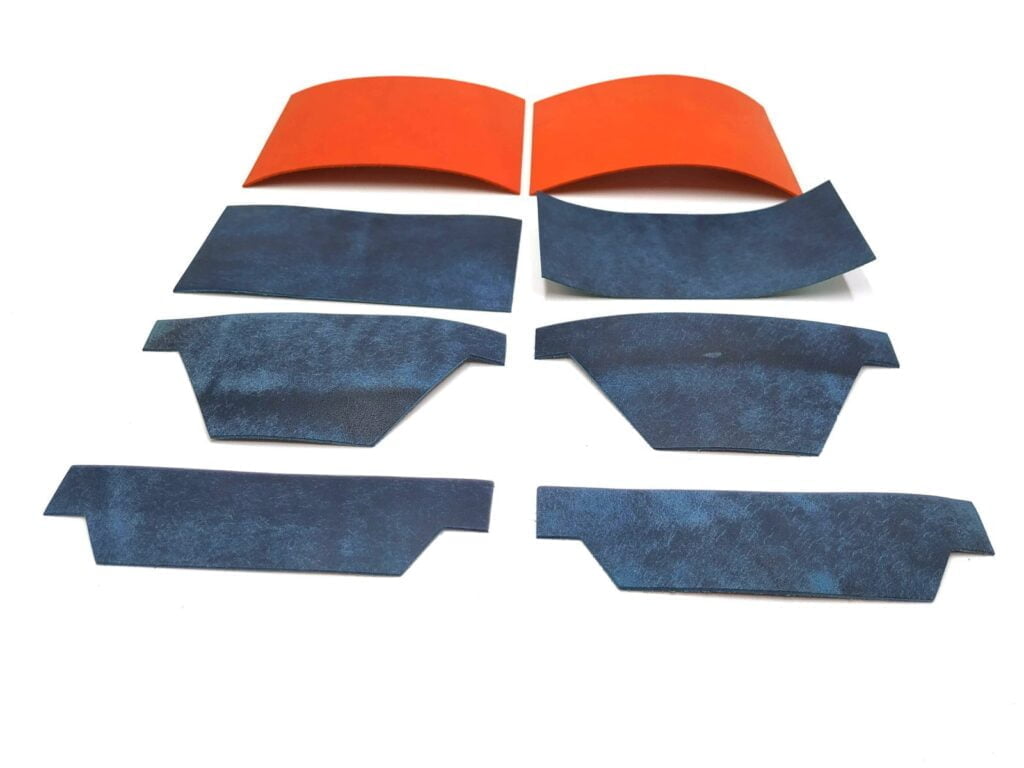
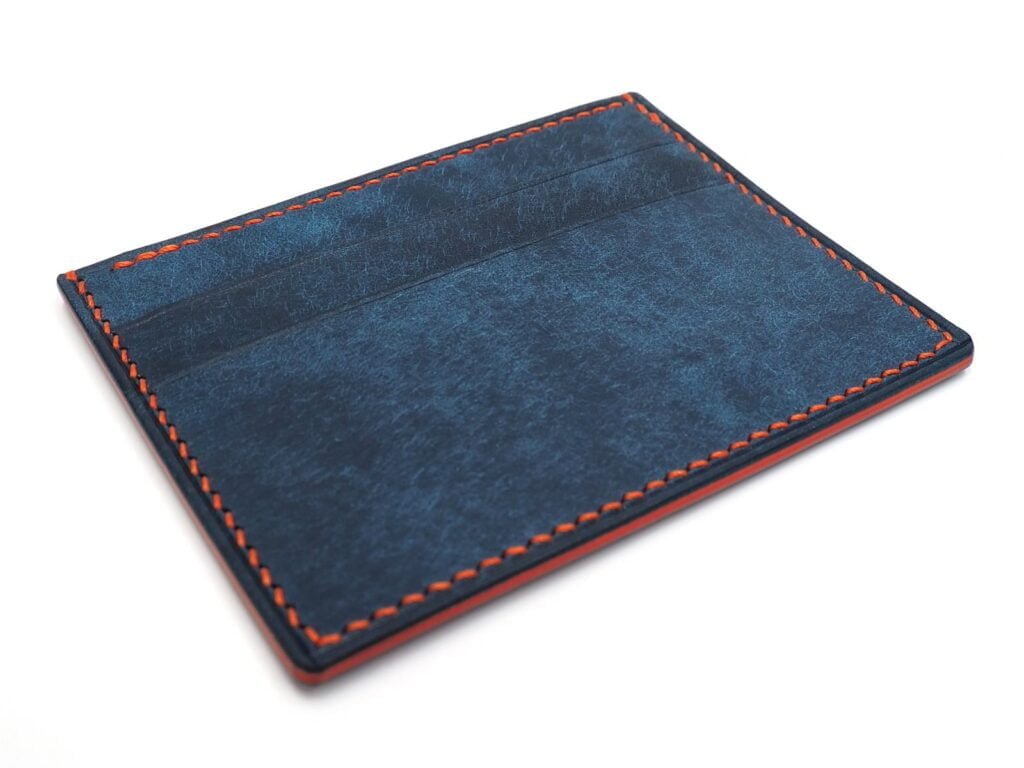
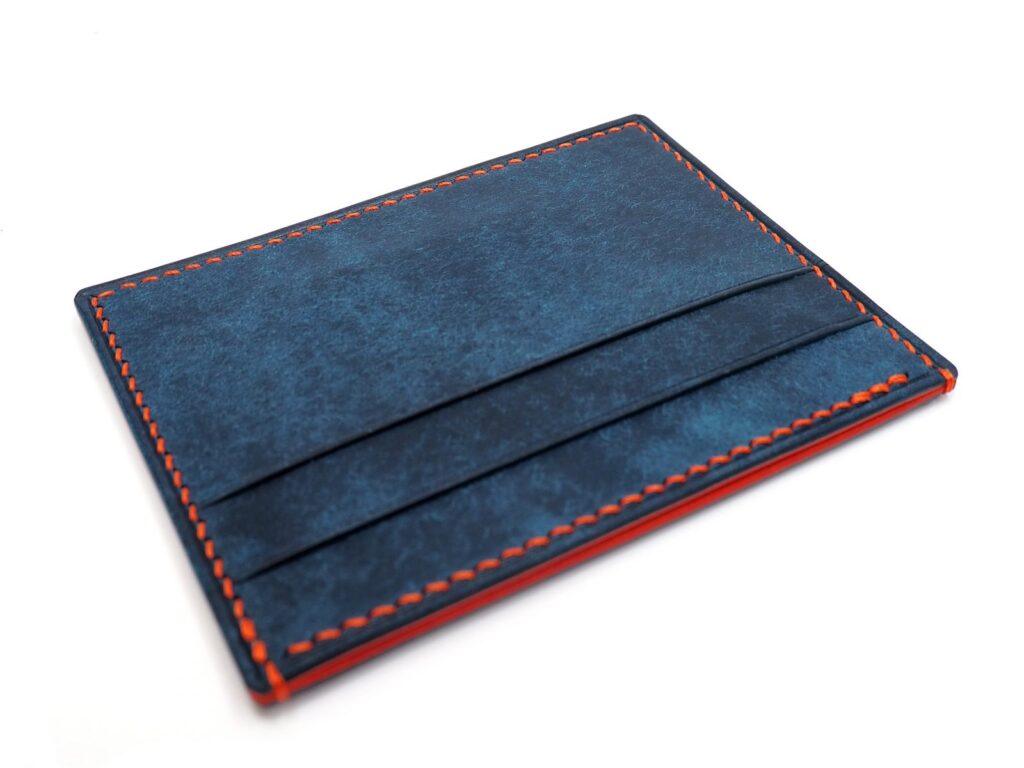
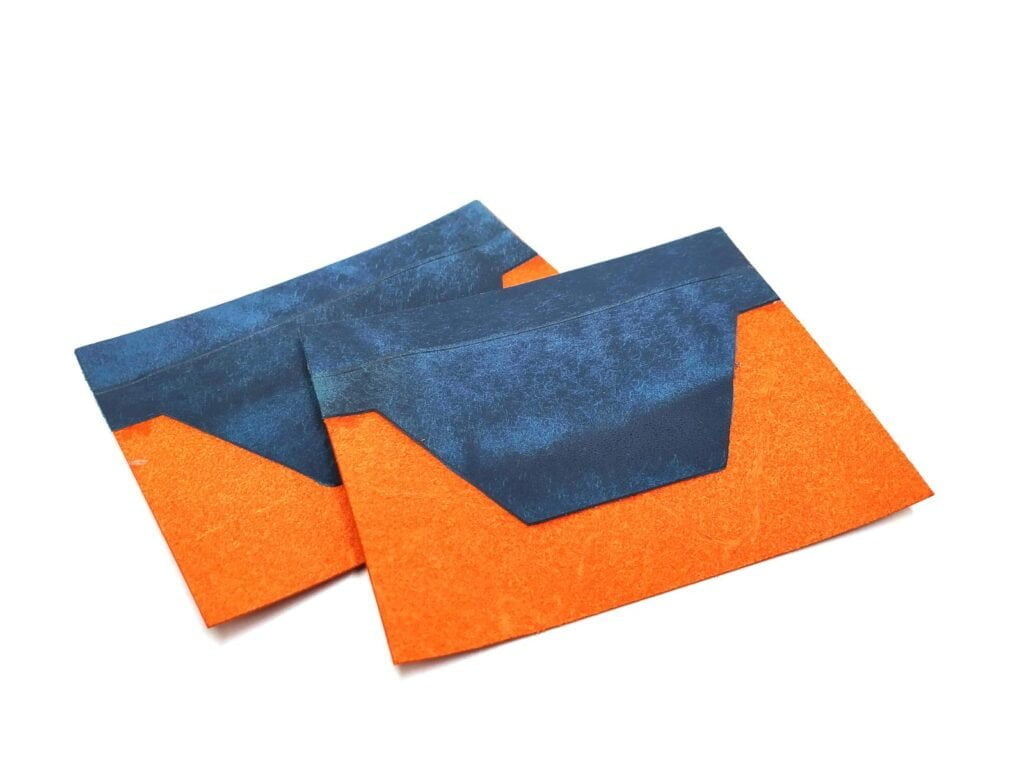
I’m using two of my favorite leathers, Pueblo from Badalassi Carlo and Buttero from Conceria Walpier. They’re two of the most famous leathers in the leathercraft world. A lot of the world’s best leather comes from a cluster of tanneries in Tuscany, these two included.
I’m using the ‘nazionale’ color for Pueblo and orange for Buttero. Blue and orange is quite easy on the eyes.
I use a die for the 2 ‘T-slots’ to save some time. The other pieces are hand cut. Quality-wise it doesn’t matter much how the pieces are cut initially.
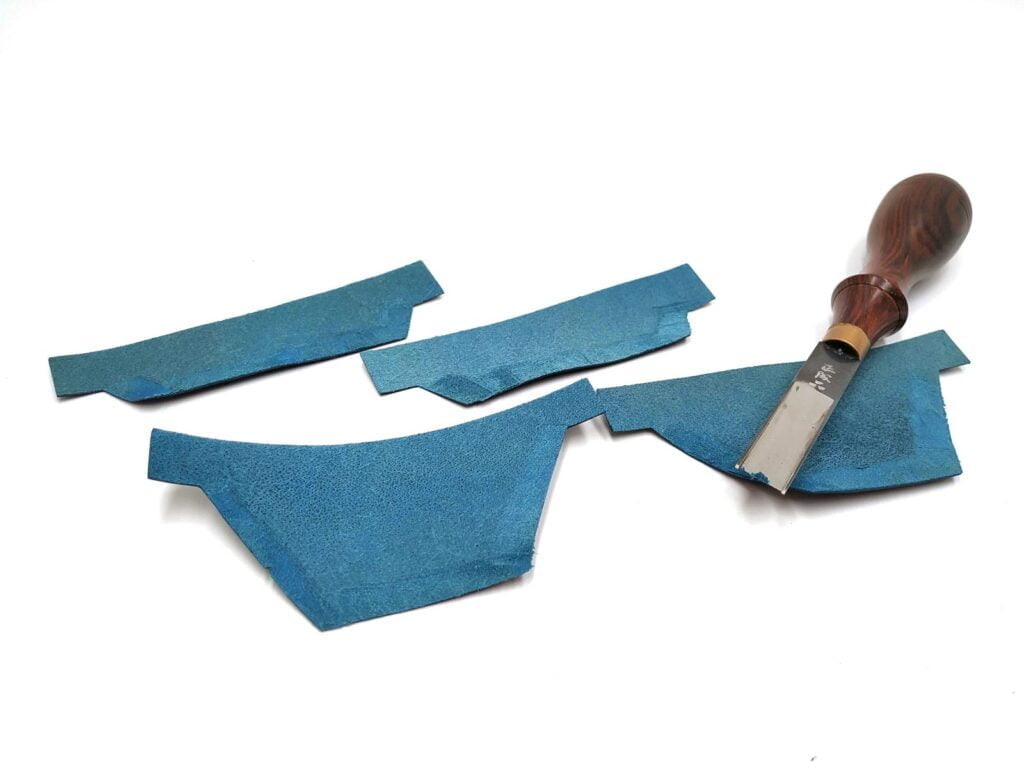
Next I remove some material from the slots, which reduces a little unneeded bulk and helps so that the slots’ shape don’t show through.
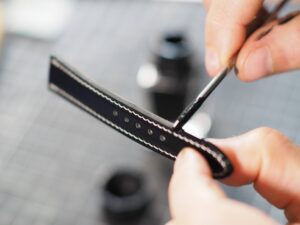
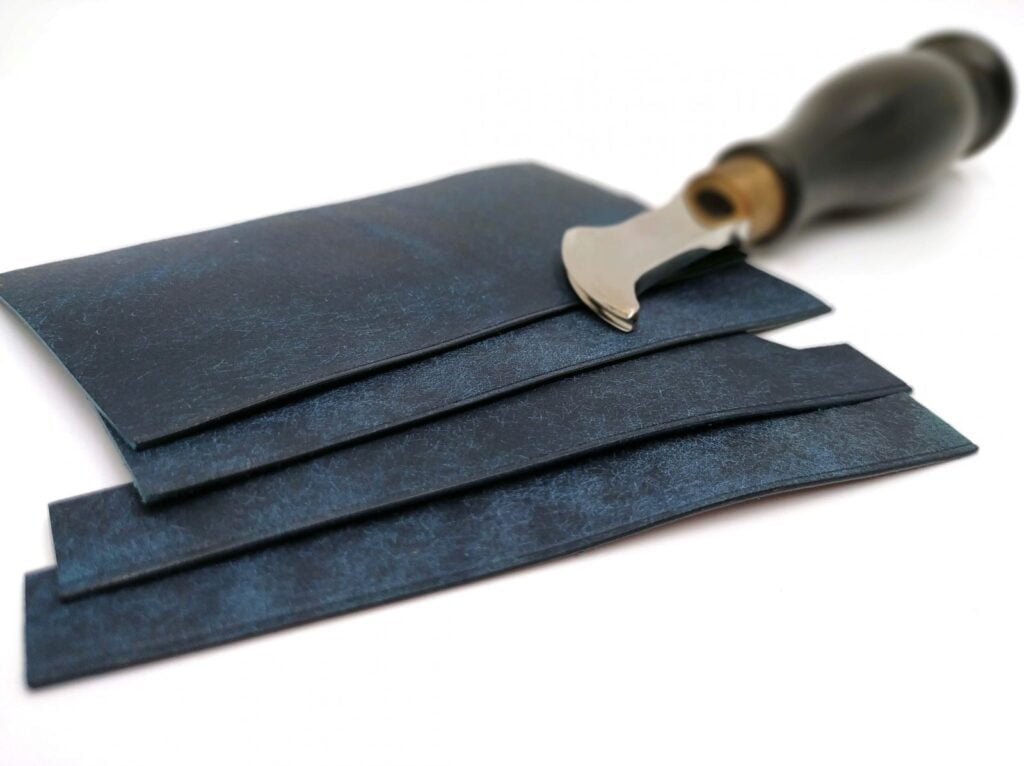
Next, I crease and burnish the card pockets. Creasing is is decorative, and burnishing is a process of using friction to create a smooth, glassy edge that protects it from fraying. Only vegetable tanned leather will burnish properly.
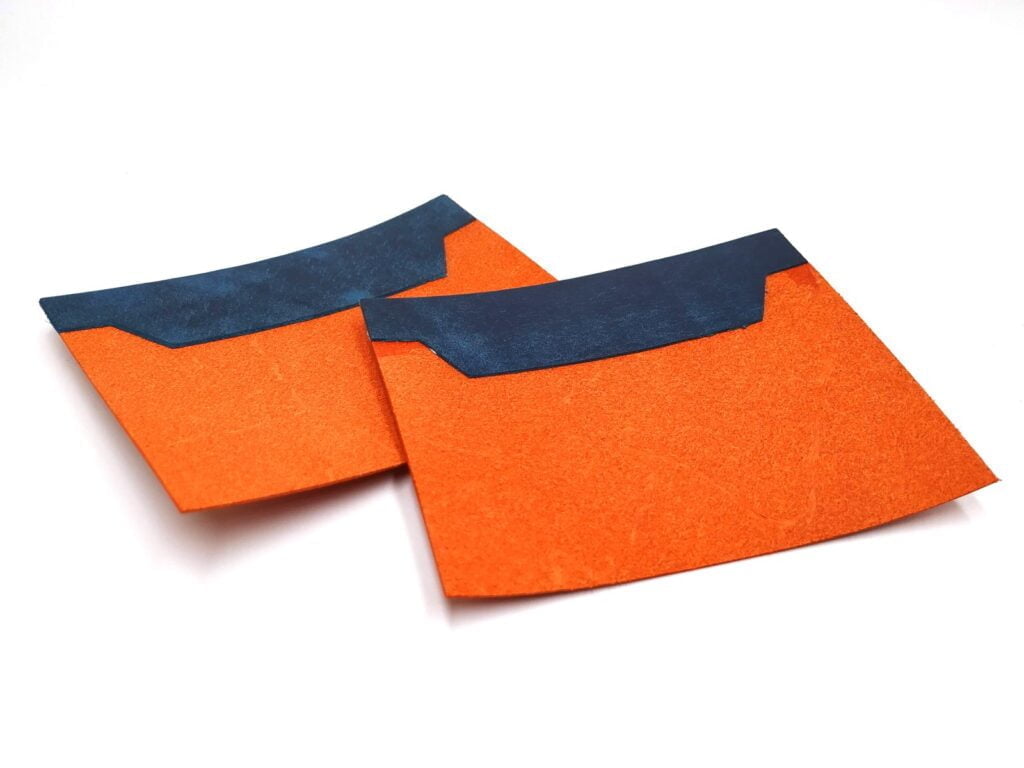
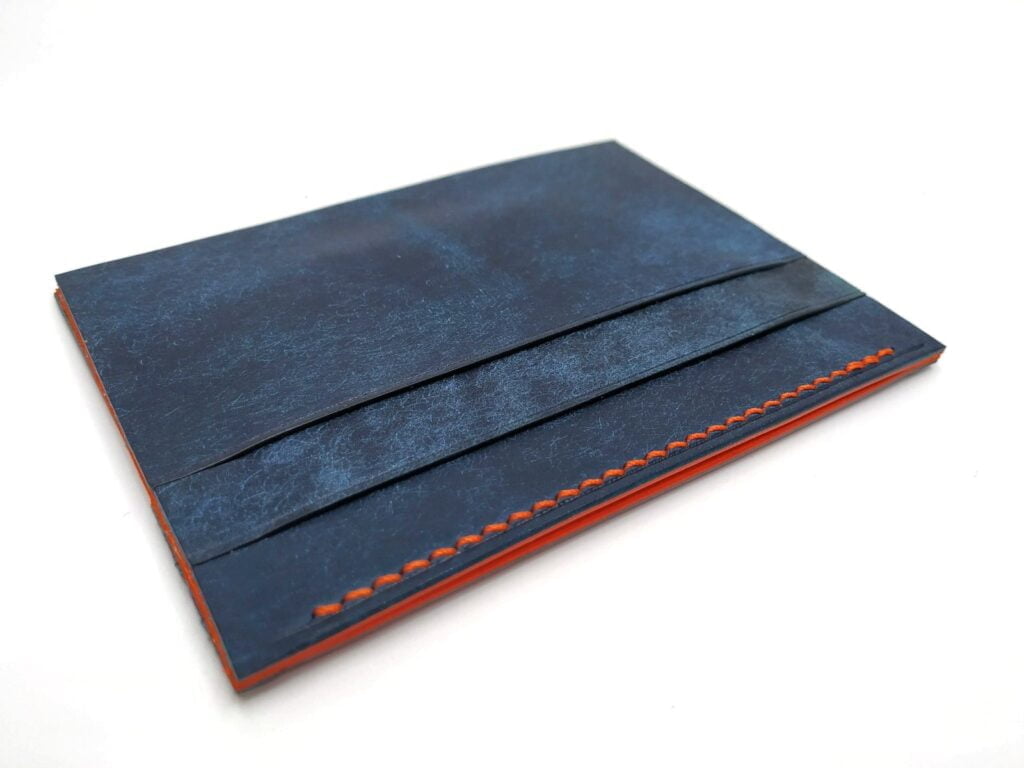
Next, the smaller T-slot is glued to the top of the of body.
Few card holders utilize the design I’m employing. It does takes more work to glue and sew the extra material at the top, but it offers several advantages. 1. The middle pocket will be lined with leather 2. The top of the wallet is stronger 3. The edges are all one thickness, making it very sleek and streamlined.
The next T-slot can be immediately glued on.
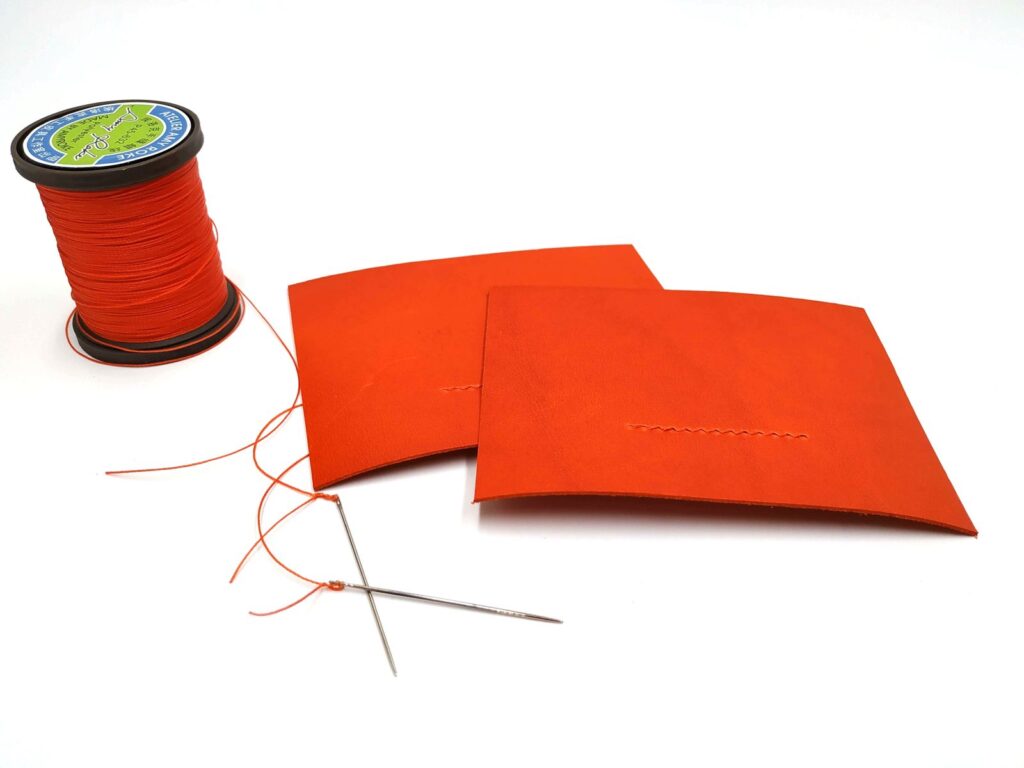
Next, this pocket is prepared for stitching.
The pocket is sewn on and the stitching is flatten with flat-faced pliers.
The next card pocket is then glued on.
The top of the body is trimmed flush. Most handmade goods skip trimming which lead to poor finishing (if done at all) and crooked stitching lines.
Everything needs to be perfectly even for proper edge finishing and straight lines of stitching to take place.
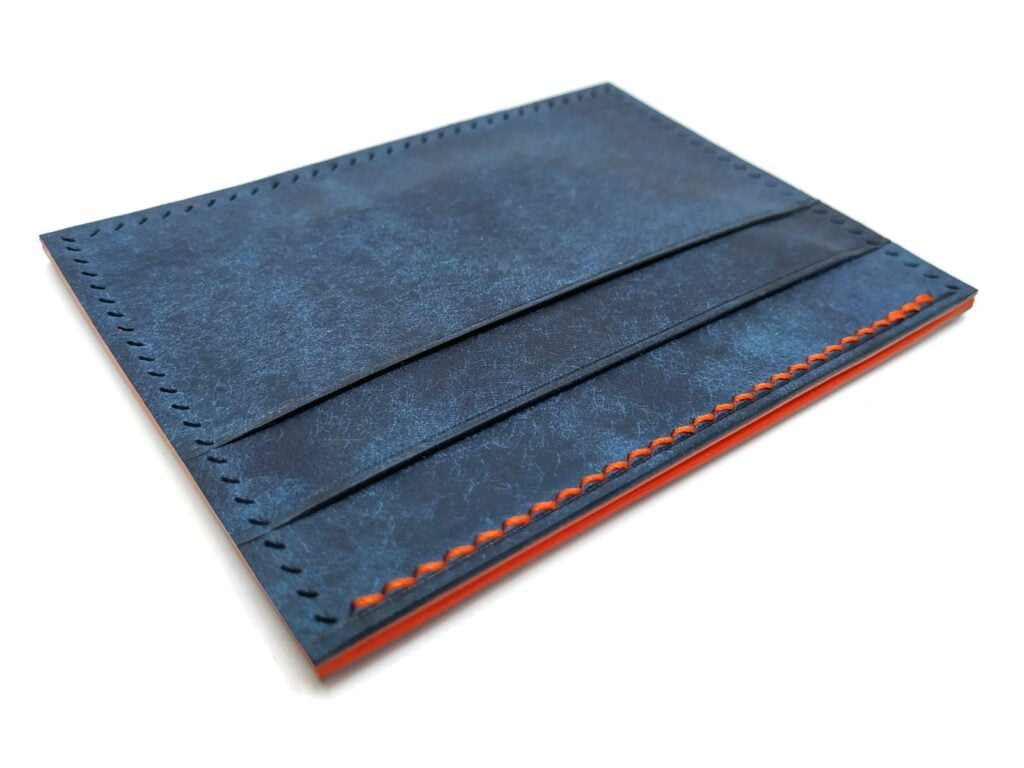
Next, the stitching holes are made.
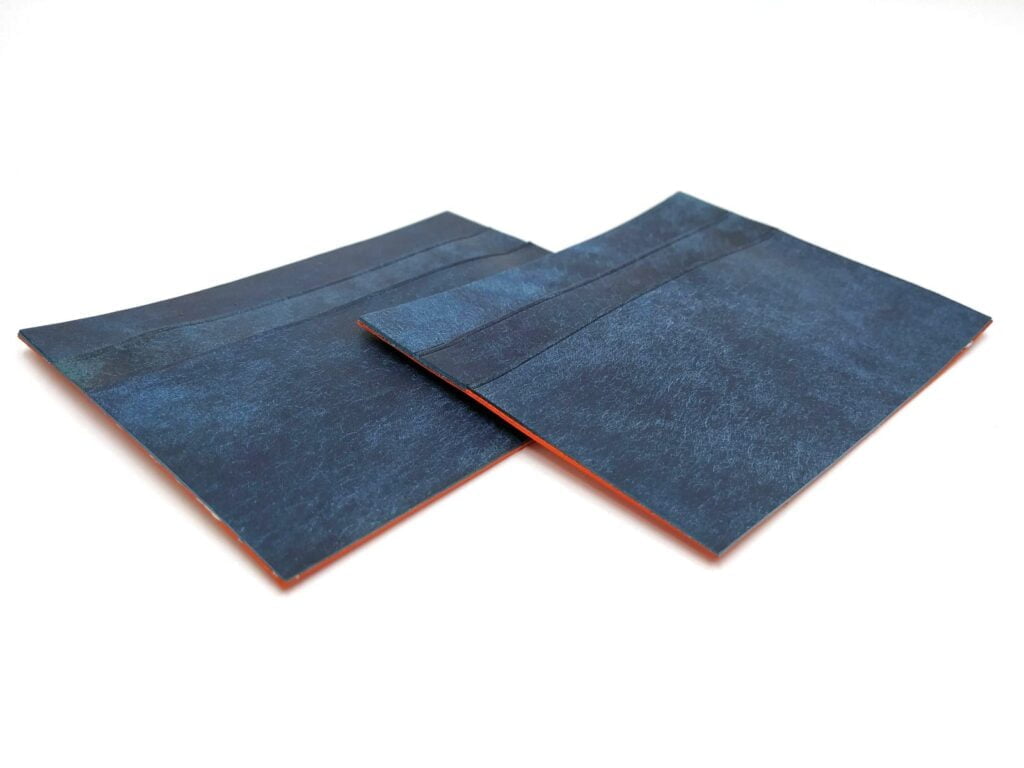
The tops are saddle stitched and the top is creased and burnished.
The two halves are now ready to be glued together. First I rough up the interior edges for better adhesion. Then the halves are carefully aligned.
As you can see, the top is lined up just right, but the other edges aren’t even. The wallet is made oversize for this reason. I now will take about 2 mm off the side and bottom and take the whole wallet to its final size.
The wallet has been trimmed and the stitching holes made. The dimensions have been carefully thought out so all the stitches are the same size and the card slots are not pierced.
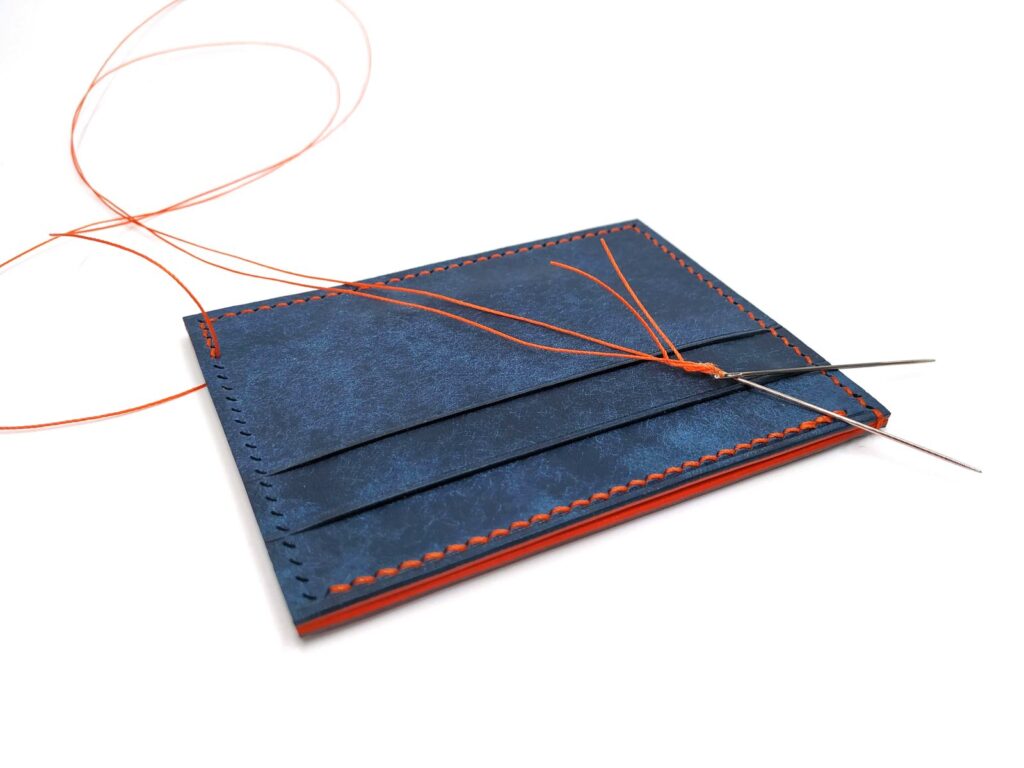
Wallet is saddle stitched. Almost done here. Saddle stitching takes a lot of time, but other forms of sewing cannot compare in aesthetic or strength.
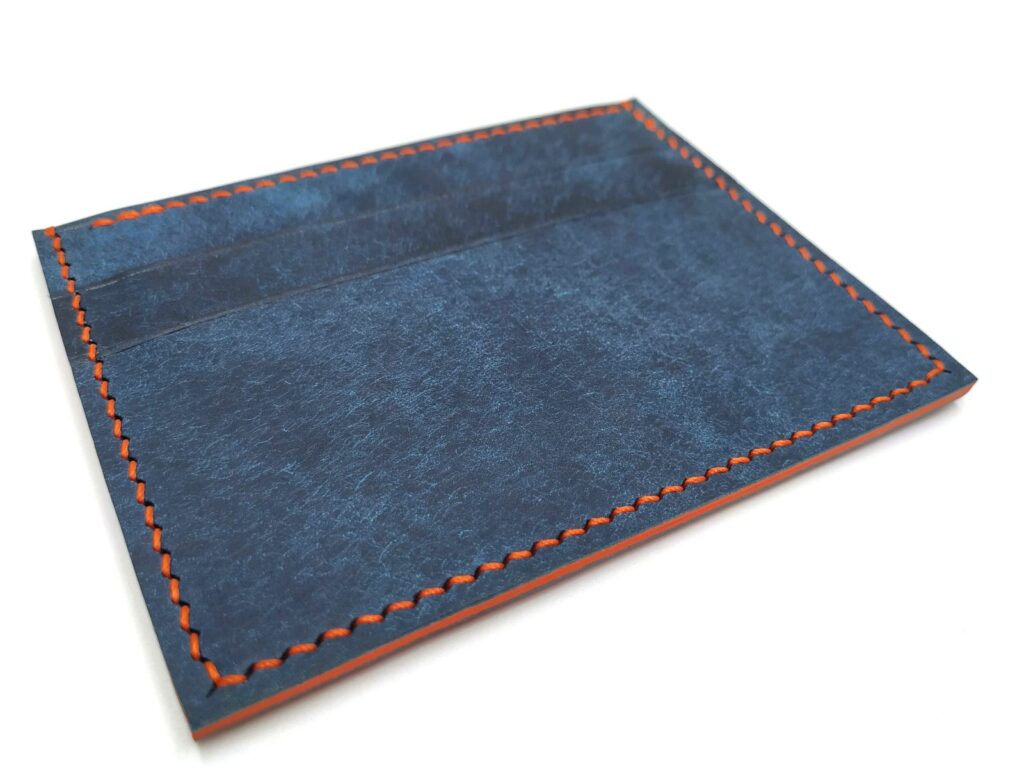
Sewing has been finished. Next the edges will be rounded, creased, and burnished.
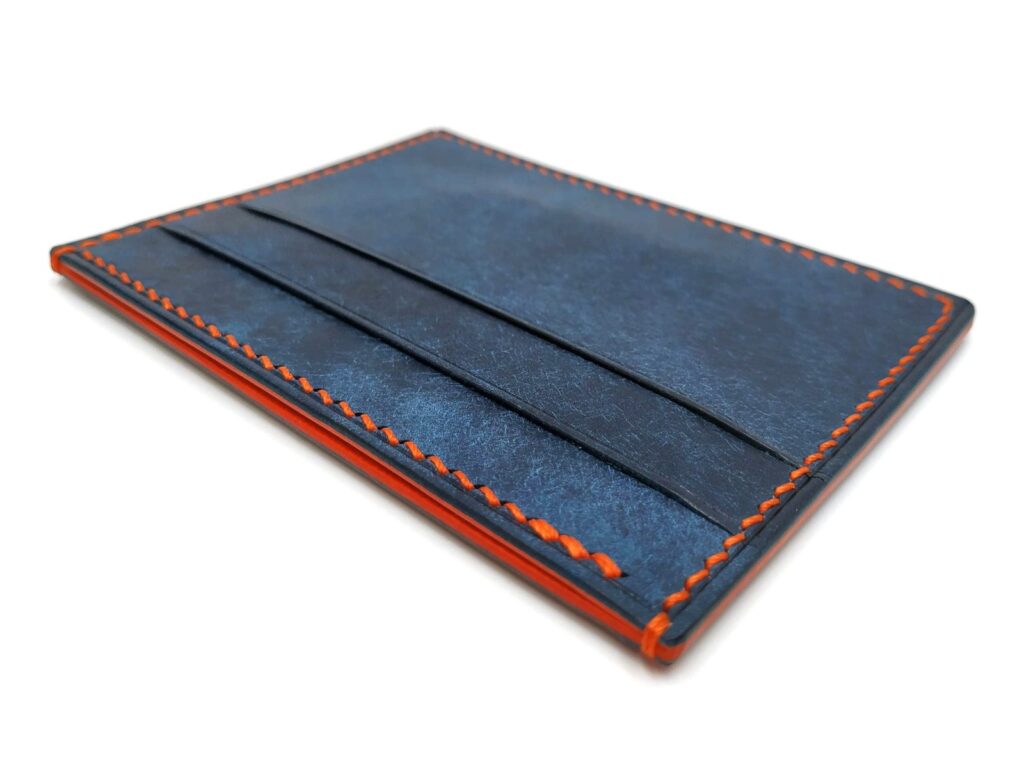
Done