Made a new product today, the modern bifold.
I wanted to make a slim wallet with 6 card slots and room for bills.
I used floating card pockets of which bills can be placed in back of, keeping the wallet nice and trim.
Build
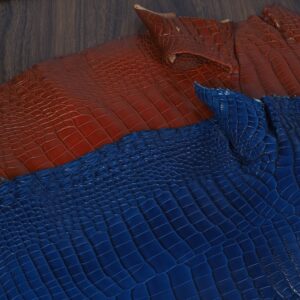
I’m using some really nice soft Italian veg tan from the Badalassi Carlo tannery.
First, the pieces are cut.

A decorative crease is added to the top of each pocket. Some water, a Japanese finishing agent, and wax are used to burnish the top of the pockets to a smooth glassy texture.

All 4 of the V-slots are glued on and sewn, creating the first 4 pockets of the wallet.

The last pocket is glued on, the pocket assembly is trimmed to size, and the top and inside-facing portion of the pocket assembly is sewn.

A crease is added next to the stitching and those edges are burnished.

The main body pieces are glued together, trimmed, sewn on the top, and burnished.

Pockets are glued on, wallet is trimmed to size, and holes are made for sewing.

Wallet is sewn. Then an edge beveller is used to round the edges, followed by adding a crease all around the inside and outside of the wallet. Finally the outer edges of wallet are burnished. The wallet is complete!

Here are some extra shots of the completed wallet: